A successful sale starts well before the sign goes up. Buyers form an impression within seconds of seeing your photos online, and what they see is largely the result of the weeks of preparation behind it. This checklist covers the practical steps for getting a London, Ontario home market-ready, in a sensible order.
Start with the market, not the paint
Know the conditions you are selling into. LSTAR’s September 2026 release reported 561 sales, a composite benchmark price of $552,500 and 5.9 months of inventory, and the association’s chair noted continued signs of a buyers’ market. In a market with more choice for buyers, presentation and pricing carry extra weight. We break down the figures in our September 2026 market report, and our article on buying or selling in the 2026 market discusses how to respond.
Step 1: Walk through it like a buyer
Start at the curb and go room by room with a notebook, or ask a friend with fresh eyes. Note anything that looks tired, damaged, smells or feels cluttered. Then sort the list into three groups:
- Fix before listing: things a buyer or inspector will notice.
- Clean and tidy: things that cost time rather than money.
- Leave alone: large projects that are unlikely to pay for themselves before you sell.
Step 2: Handle repairs and maintenance
Small defects make buyers wonder what else has been neglected. Prioritize:
- Leaking taps, running toilets, sticking doors and windows
- Burnt-out bulbs, loose handles, cracked outlet covers
- Visible water stains (find and fix the cause, not just the stain)
- Chipped paint, scuffed walls and worn caulking
- Clean or replace furnace filters and gutter debris
For anything structural or mechanical, keep receipts and records. A tidy folder of maintenance history reassures buyers. Our guide on what adds the most value when selling goes deeper on which improvements matter.
Step 3: Declutter, clean and depersonalize
This is often the highest-return step and costs the least.
- Remove excess furniture so rooms feel larger.
- Clear counters, shelves and the fronts of fridges.
- Pack away family photos and personal collections so buyers can picture themselves living there.
- Tidy closets, garages and basements. Buyers open them.
- Deep clean, including windows, baseboards and appliances. Consider a professional cleaner.
- Address pet odours and food smells, and avoid heavy air fresheners.
Step 4: Paint, lighting and staging
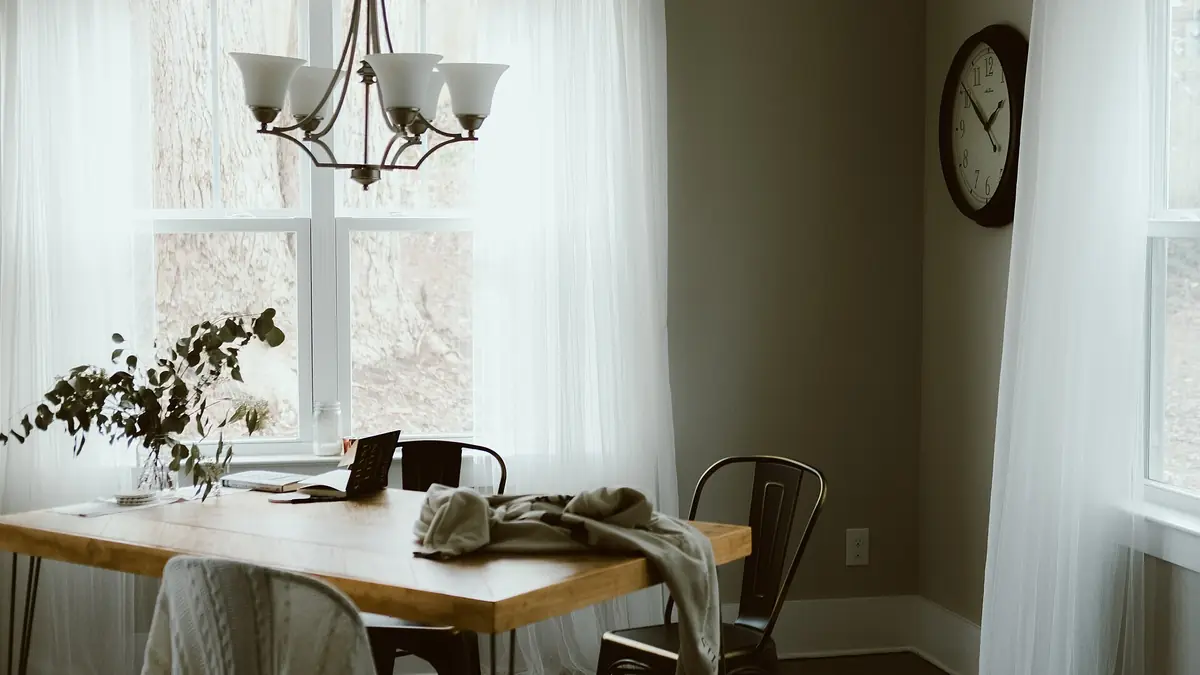
Neutral, fresh paint in worn rooms can make a home feel cared for. Open the curtains, replace dim bulbs and make sure every room feels bright. Then stage with a purpose: every room should have a clear function, such as a bedroom that reads as a bedroom and not a storage area. Staging can be as simple as rearranging what you own. For vacant homes, ask your REALTOR® whether professional staging makes sense.
Step 5: Curb appeal
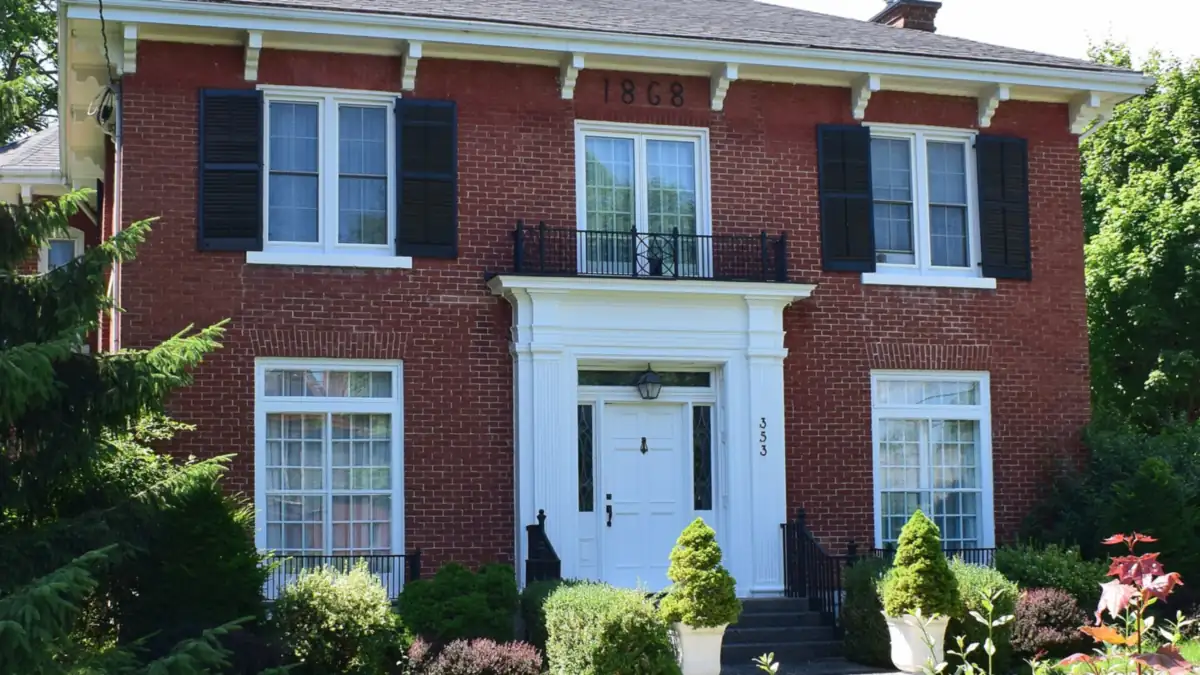
The exterior is the first photo and the first impression.
- Cut the grass, trim hedges and clear leaves or snow, depending on the season.
- Tidy the front entrance, wash the door and make sure the house number is visible.
- Store bins, toys and tools out of sight.
- Repair broken fences, steps or railings.
Step 6: Photos, video and listing materials
Most buyers will see your home online before they ever walk through it. Professional photos and, where appropriate, a video or floor plan help the listing stand out. Prepare the home for the photographer by finishing the previous steps first, turning on lights, and putting away personal items. Gather the information a listing needs: lot details, recent upgrades, appliances included, and utility costs. Your REALTOR® will use this to write accurate listing copy for MLS®.
Step 7: Price against comparable sales
Pricing is the decision with the most influence over how your sale goes. The method is simple even if the judgment is not: look at recently sold homes that are similar in location, size, age and condition, then adjust for what makes yours different. Asking prices of other active listings show your competition, but sold prices show what buyers actually paid. Benchmark and average figures, such as the LSTAR numbers above, give broad context but are not a price for your specific house. Averages mix very different homes together, and London South, London North and the surrounding towns can behave differently.
A REALTOR® can prepare a comparative market analysis, and you can start with our home valuation request. Be wary of any suggested price that is simply the highest number you want to hear.
Step 8: Think about timing
There is no single perfect week to list, and your own plans matter more than any rule of thumb: when you need to move, whether you are buying another home, and when your home looks its best. If you are juggling a purchase, read our article on buying before selling. Talk through the timeline with your REALTOR® well in advance, including how long you will need to be show-ready.
Step 9: Line up the paperwork and the professionals
- Contact your lawyer early so they are ready when you have an accepted offer.
- Find your property tax details and any documents about upgrades or warranties.
- Ask your accountant about taxes. If this is your principal residence, you still need to report the sale; see our principal residence exemption guide.
- Ask about the costs of selling, which we have not listed here because they vary.
Step 10: Plan for showings
Decide how you will handle showings and offers, keep the home tidy day to day, and arrange for pets and valuables. A home that is easy to see tends to be seen more often. Learn more about working with us as a seller.
Common questions
How early should I start preparing my home for sale?
Starting several weeks before you plan to list gives you time to book trades, finish repairs and declutter without rushing. Larger projects take longer, so begin earlier if you have them.
Should I renovate before selling?
Usually smaller, targeted fixes and cleaning matter more than major renovations. Talk to your REALTOR® about which projects are likely to be worth the effort in your specific home and price range.
How do I decide on a listing price?
Compare your home with recently sold, similar homes nearby, then adjust for condition, size and features. A REALTOR® can prepare a comparative market analysis, and our home valuation page is a starting point.
Do I report the sale on my taxes if it is my principal residence?
Yes. Even when the gain is tax-free, you must report the sale on Schedule 3 and file Form T2091(IND) with your return (Canada Revenue Agency).
Keep exploring
- London real estate guideHomes, local anchors and what to ask before you buy or sell in London.
- Why list with usHow we market a home: photography, video and targeted advertising.
- Free home valuationFind out what your home is worth, with no obligation.
Sources
- London and St. Thomas Association of REALTORS®: Housing sales pick september
- Government of Canada: Principal residence other real estate
Figures and rules were checked against these sources on the date this post was published or last updated.
Not advice. This post is general information only. It is not legal, tax, mortgage or investment advice. Rules and figures change, so confirm the details for your own situation with a qualified professional before acting.
Market data. Any prices quoted are general information for the period stated. They are not an appraisal or an opinion of value for any specific property.